The Accidental Genius Behind This Recipe
Alright, this is how it all started. Last Tuesday afternoon. I’m in pajama shorts, hair in a messy bun, and out of nowhere, my sweet tooth decides to throw a full-on tantrum. I’m talking personal betrayal level because – get this, there’s no chocolate in the house. You know that moment when you’re tearing through the pantry like a raccoon on a mission. Yeah… that was me.
I wanted something chocolaty, fudgy, rich… but also something that didn’t involve turning on the oven. Because let’s be real, it was hot, I was lazy, and preheating the oven felt like a commitment I just wasn’t ready for. Also, the baking pan was still in the sink from last weekend and I wasn’t about to wash anything. Nope.
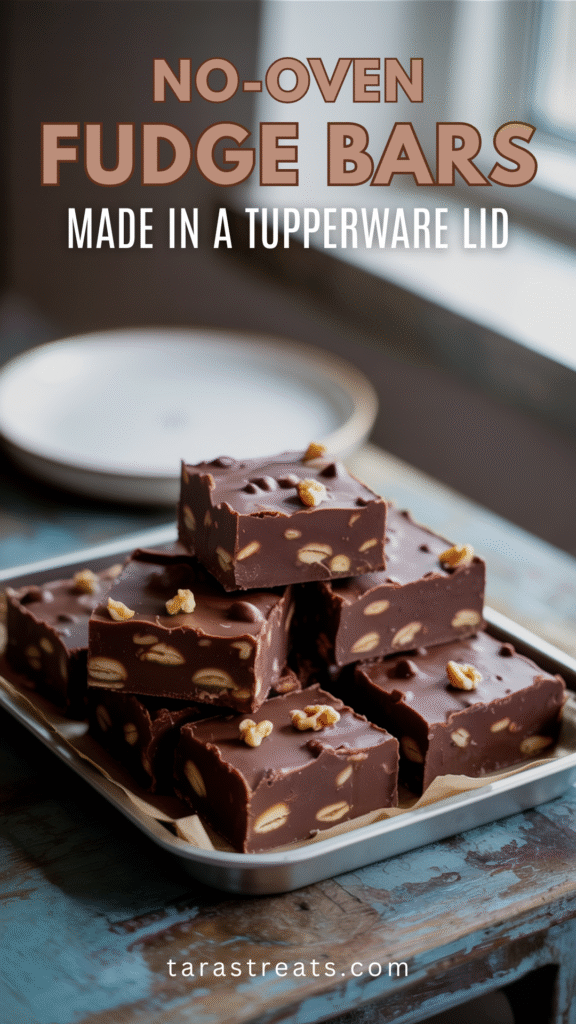
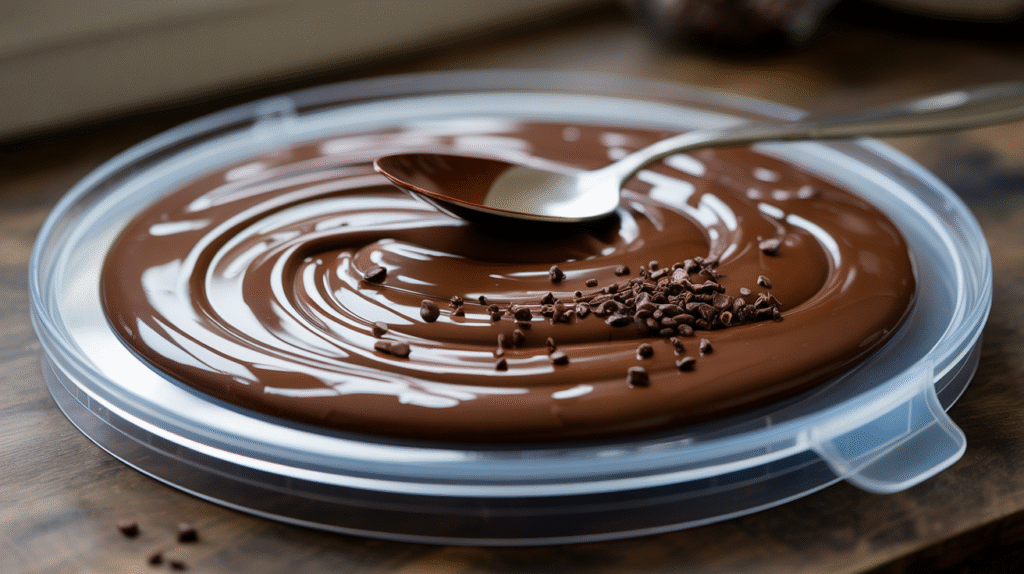
And then I looked at this old, scratched-up Tupperware lid (don’t ask why I was holding a Tupperware lid) and thought… hmm. Could I just… make something on this? Spoiler alert: I totally did. And now I can’t stop. These fudge bars? They’re no-bake, made with pantry staples, and best of all—they come together in a lid. A literal plastic lid. Call it lazy. I call it genius.
Why You’ll Be Obsessed (Trust Me On This)
1. No Oven, No Sweat
There is something magical about whipping up a dessert without even looking at your oven. These bars are a no-bake wonder. No hot kitchen. No timers. Just mix, chill, and devour.
2. Super Quick to Make
If you have 10 minutes, you’ve got time for this recipe. Seriously. From measuring to mixing to popping it in the fridge, it all comes together faster than watching a single episode of anything.
3. Uses What You Already Have
This recipe doesn’t call for rare ingredients. It’s made from the real MVPs of your pantry such as cocoa powder, peanut butter, oats, butter… you know, the usual suspects. Odds are, you’ve already got everything you need just hanging out in your kitchen, waiting to become dessert.
4. Ridiculously Rich and Chocolaty
We’re not playing around here. These bars are FUDGEY. Like, sink-your-teeth-in, stick-to-your-molars kind of rich. And the chocolate flavor? Deep and intense, like a chocolate bar had a dramatic glow-up.
5. Kid-Approved, Adult-Devoured
My niece gave these two sticky thumbs up. And my friend who claims to “not like sweets” ate half the tray. So yeah… safe to say it pleases all ages.
6. Tupperware Lid Magic
Let’s not ignore the coolness of making dessert in a lid. It’s low-key brilliant. Minimal mess, no extra dishes, and when you’re done – boom, pop the lid back on and straight into the fridge it goes. Clean-up? Basically nonexistent.
7. Super Customizable
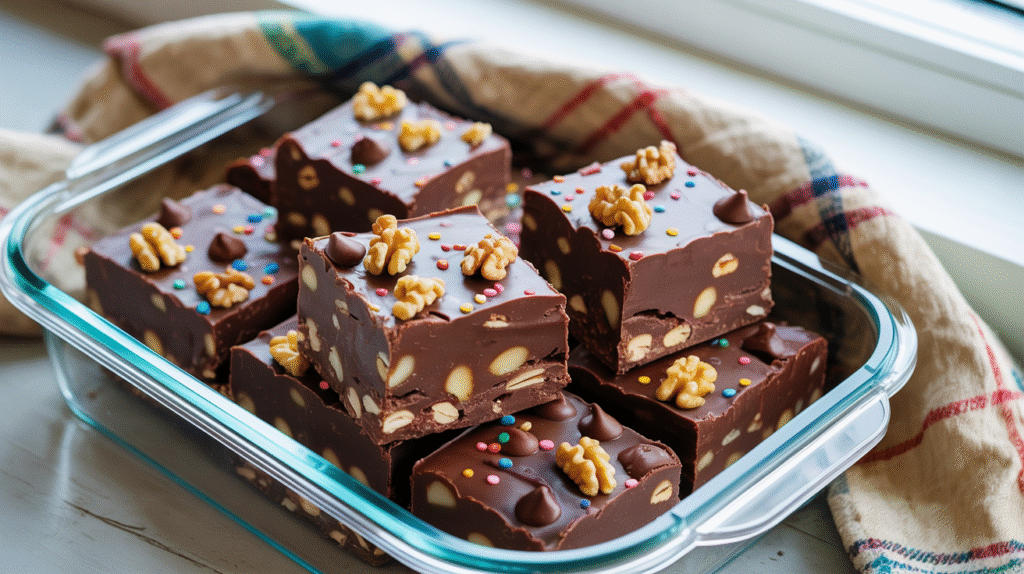
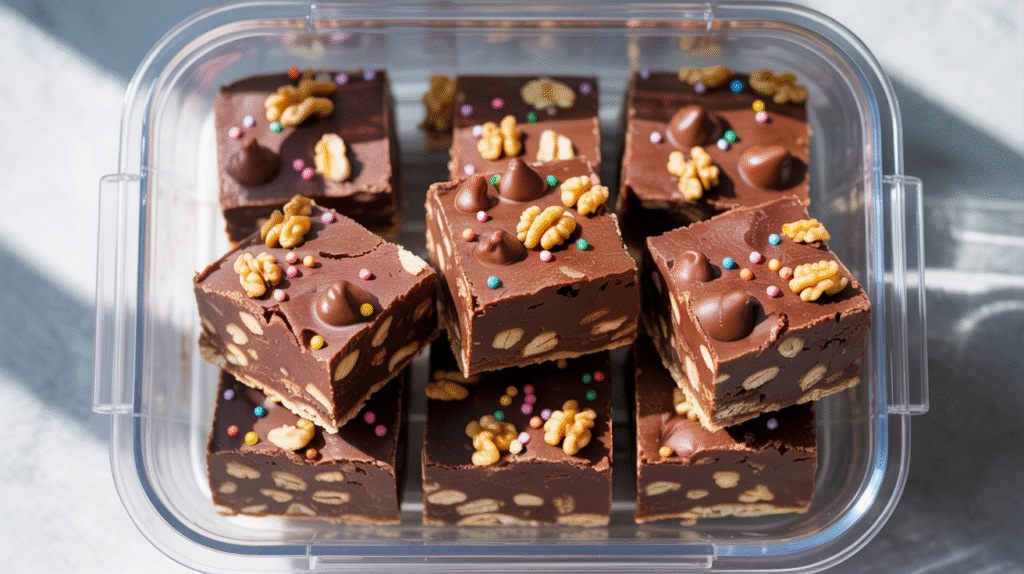
You want nuts in it? Go ahead. Add sprinkles? Do it. Drizzle some caramel on top? Who am I to stop you? This recipe’s flexible, forgiving, and fun to mess with.
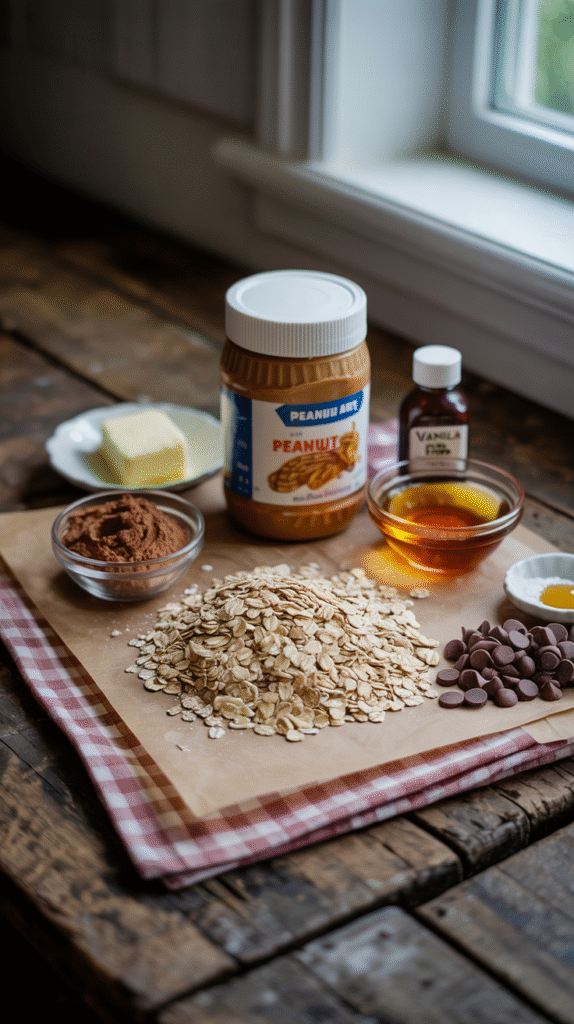
Ingredients You’ll Need
- Rolled oats – 2 cups
- Cocoa powder – ½ cup
- Peanut butter – ¾ cup
- Honey (or maple syrup) – ½ cup
- Butter – ½ cup
- Vanilla extract – 1 tsp
- Pinch of salt
- Chocolate chips – ½ cup (optional)
Optional Toppings: crushed nuts, shredded coconut, a pinch of sea salt flakes, or even rainbow sprinkles if you’re in a mood.
What You’ll Need (Kitchen Equipments)
- One medium saucepan
- Mixing spoon or spatula
- Measuring cups and spoons
- One good ol’ Tupperware lid (or any shallow plastic lid)
- Fridge space (important!)
How to Make These Fudge Bars
Step 1: Melt and Mix
Okay, so first grab a saucepan and toss in your regular butter, peanut butter, and honey. Set it over low heat and stir it constantly (seriously, don’t walk away), this stuff needs your full attention. You want it to melt into a smooth, silky mixture.
Step 2: Chocolate Time
Once the mixture is nicely melted, turn off the heat and add in your cocoa powder, vanilla, and a pinch of salt. At this point, it’s going to look like liquid chocolate heaven. And yes, you’ll be tempted to grab a spoon and eat it but hang in there.
Step 3: Oats In
Now it’s oat time. Pour in your rolled oats and stir until they’re completely coated in that chocolatey goodness. If you’re adding chocolate chips, this is the moment. Mix ’em in and watch them get a little melty and magical.
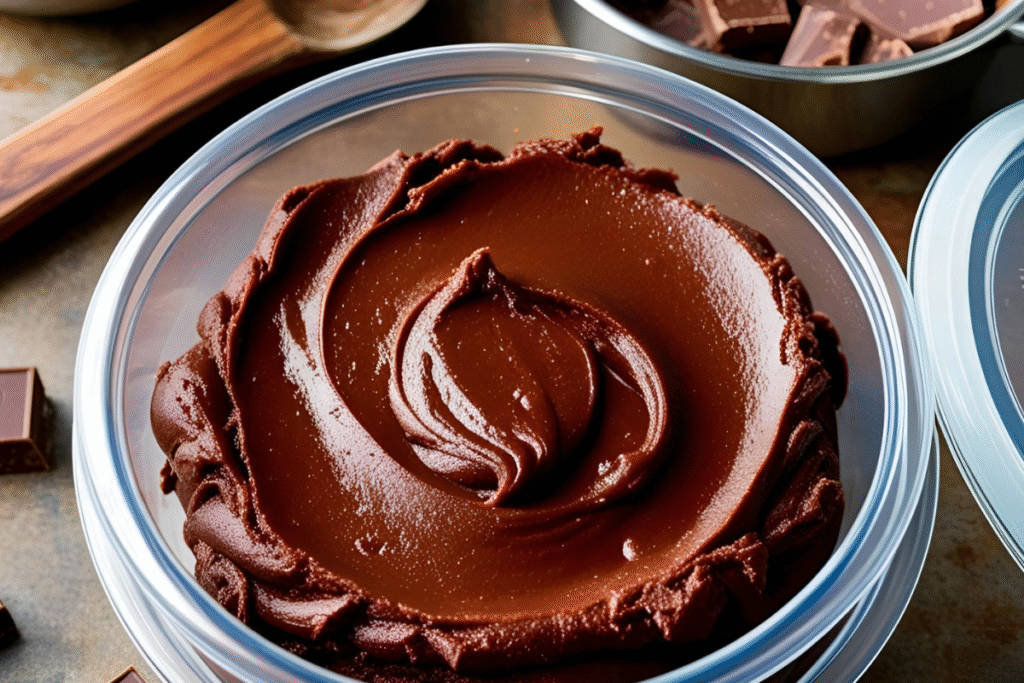
Step 4: Pour into the Lid
Grab a clean Tupperware lid (trust me, it works great), and pour the mixture onto it. Use a spoon or spatula to press and spread it out evenly. It’ll be thick and a little sticky; that’s what you want.
Step 5: Chill Mode
Carefully slide the lid into the fridge and let it chill for at least 1–2 hours, or until it firms up. And hey if you’ve got the patience, leave it overnight. (I never do, but good for you.)
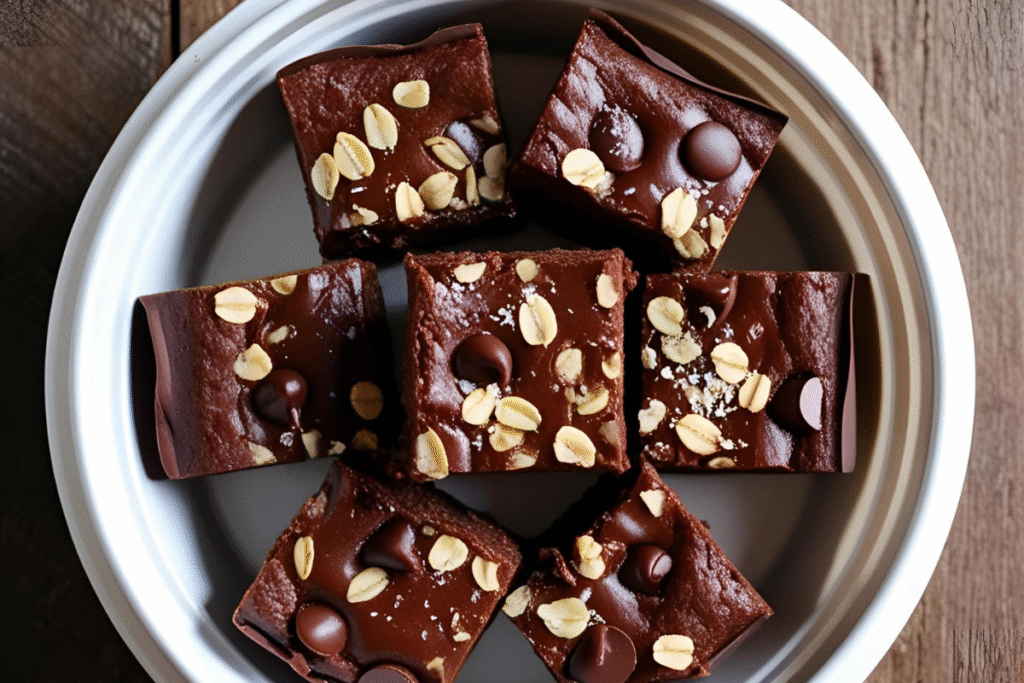
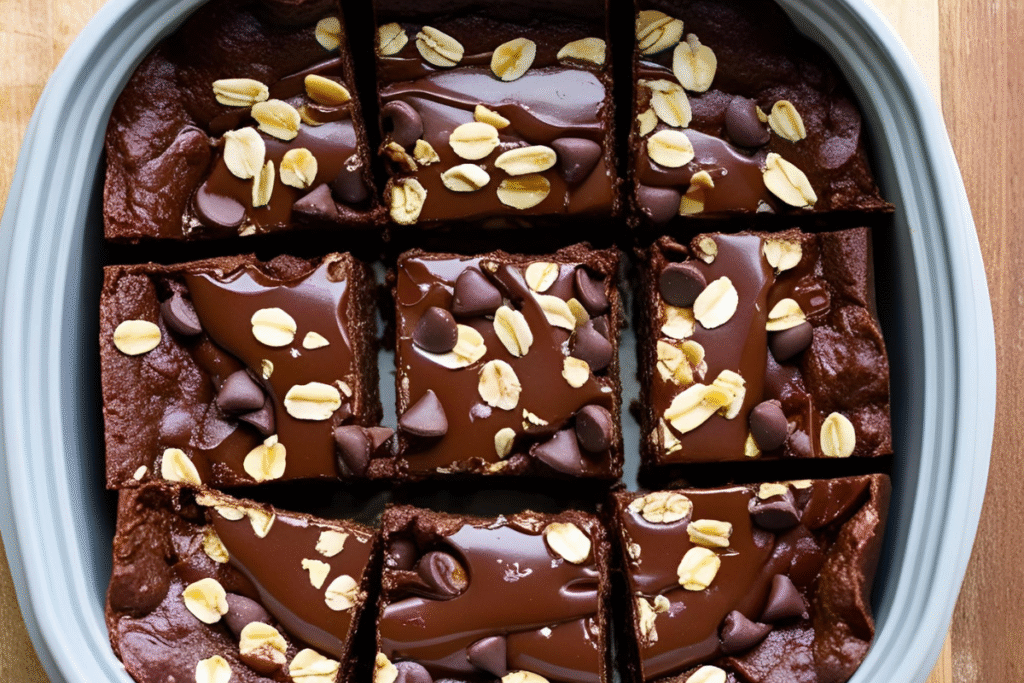
Step 6: Slice and Enjoy
Once firm, cut into bars, squares, or weird triangles whatever shape your heart desires. Eat one immediately. Try not to eat three more right after. (No judgment if you do.)
Notes to Keep It Awesome
Sweet Swap
No honey? Use maple syrup or agave. Just keep the same amount.
Make It Nut-Free
Use sunflower seed butter instead of peanut butter. Works like a charm.
Go Gluten-Free
Just use certified gluten-free oats. Easy fix.
Add Some Crunch
Chopped almonds, crushed pretzels, or even Rice Krispies will add an epic crunch.
Too Soft?
No worries. If it’s still feeling a little too soft to slice cleanly, just give it more fridge time. Or, if you’re in full snack emergency mode, toss it in the freezer for 10 minutes. It’ll firm right up.
Keep It Fresh
Store in an airtight container in the fridge for up to a week… if it lasts that long.
Macronutrients Per Serving (1 bar)
- Calories: 210
- Protein: 5g
- Fat: 12g
- Carbs: 22g
- Sugar: 13g
- Fiber: 3g
Top Secret Tips (aka “Lid Legends”)
Use Smooth Peanut Butter
It blends better and gives a creamier texture. Crunchy works, but smooth is smoother (duh).
Add a Little Espresso Powder
Just a pinch makes the chocolate flavor pop like fireworks. Trust me on this.
Don’t Skip the Salt
Just a tiny pinch of salt does the trick. You might not notice it right away, but without it, something just feels off. It brings everything together in the best way.
Line the Lid (Optional)
If you wanna get fancy, line the lid with parchment paper for easy lift-and-slice action.
Make It a Party
Want to level it up? Toss on some mini marshmallows, rainbow sprinkles, or crushed cookies before chilling. Instant party vibes—no occasion needed.
“Fudge It, I Have Questions” (Your Q&A Corner)
Q: What can be served with these fudge bars?
A: Honestly, you can’t go wrong with a cold glass of milk – a classic move. But if you’re feeling extra, add a scoop of vanilla ice cream on the side. Or hey, do both. You deserve the full experience.
Q: Can I freeze them?
A: Yup! Just slice and store in a ziplock bag. Freeze for up to a month. Defrost before biting unless you like dental drama.
Q: Can I make this vegan?
A: Absolutely. Just swap the butter for coconut oil and use maple syrup instead of honey.
Q: How do I make it even more chocolatey?
A: Toss in some chocolate chips and drizzle melted chocolate over the top once it’s chilled. Boom – triple chocolate magic.
Q: Can kids make this?
A: Yep! As long as an adult handles the melting part, the rest is super kid-friendly (and a little messy in the best way)
Q: What if I don’t have a Tupperware lid?
A: No Tupperware lid? Totally fine. Just use whatever you’ve got – a shallow dish, a plate with a bit of a rim, even a small baking tray. Just something flat that’ll fit in your fridge.

