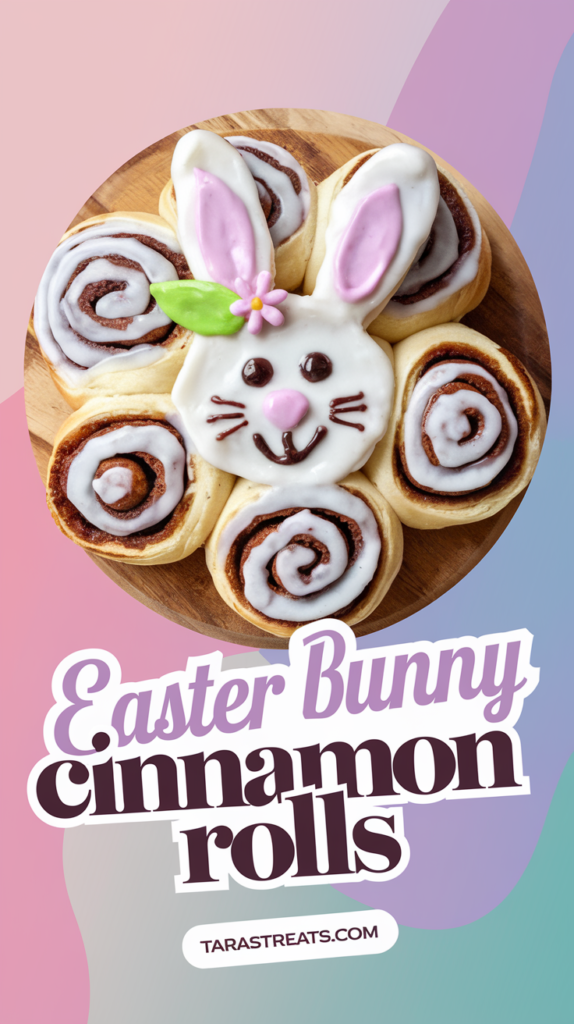
I’ll never forget the Easter morning when my 6-year-old niece Lily proclaimed that the Easter Bunny must get hungry during his egg-hiding adventures. This innocent observation led to a kitchen epiphany that changed our Easter traditions forever. Wouldn’t it be fun to leave the Easter Bunny a special treat? And just like that, these Easter Bunny Cinnamon Rolls were born.
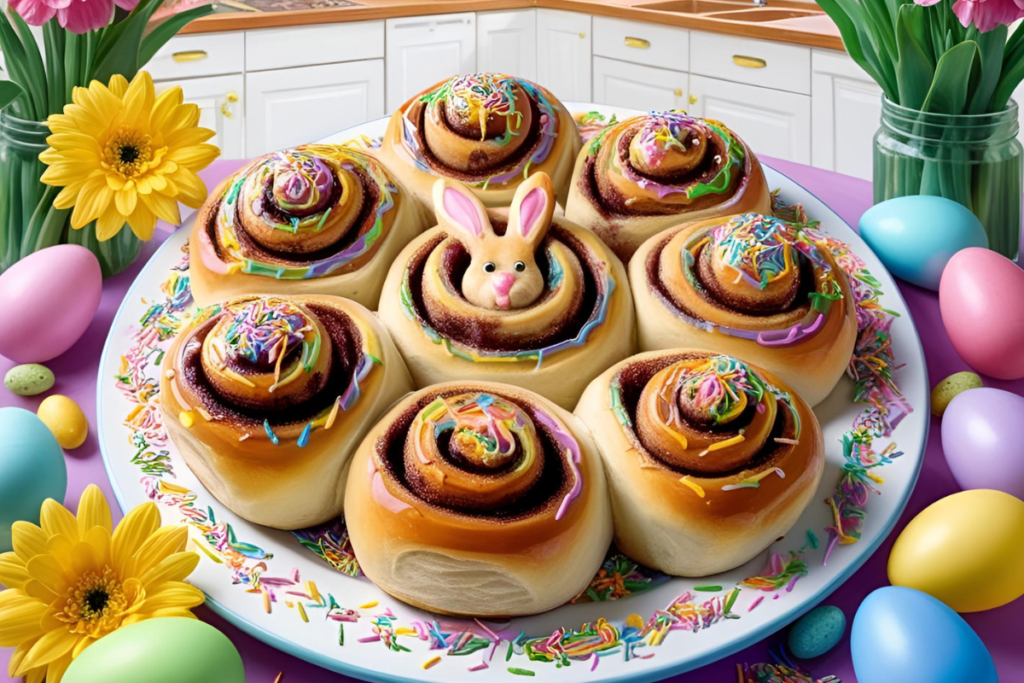
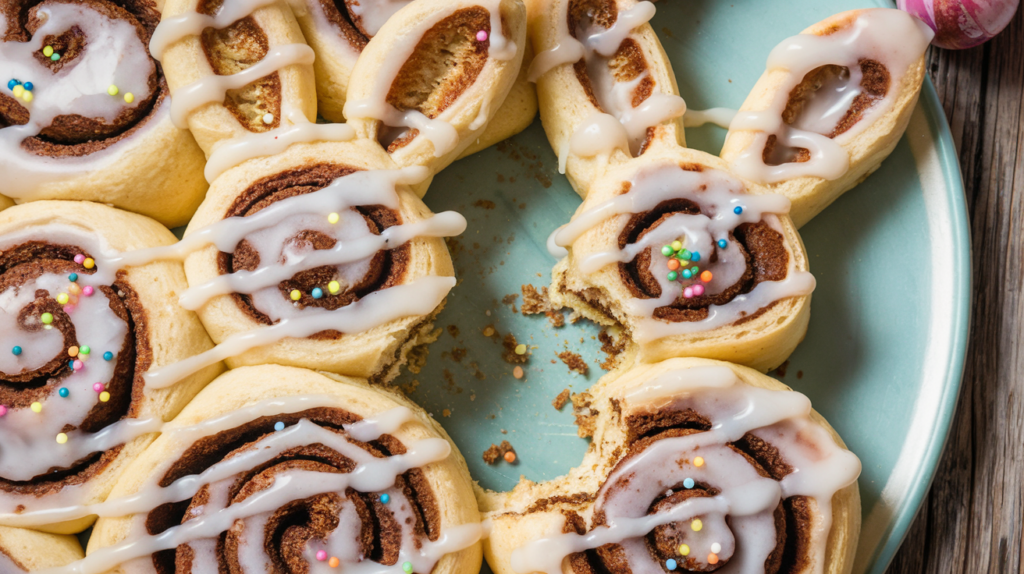
What started as a simple idea quickly became our family’s most requested Easter dessert recipe. I transformed ordinary cinnamon roll dough into adorable bunny shapes, complete with floppy ears and cotton tails. The delighted squeals from the kids (and the not-so-subtle excitement from the adults) when I first brought these to our Easter brunch made all the effort worthwhile.
Now, five years later, these Easter Bunny Cinnamon Rolls have become legendary in our neighborhood. Friends request them for Easter gatherings, and I’ve even taught a mini baking class at Lily’s school. These fun Easter desserts bring together everything I love about holiday baking: creativity, tradition, and the pure joy of watching someone bite into a bunny ear with unabashed delight.
Why You’ll Love This Dish
Adorably Festive
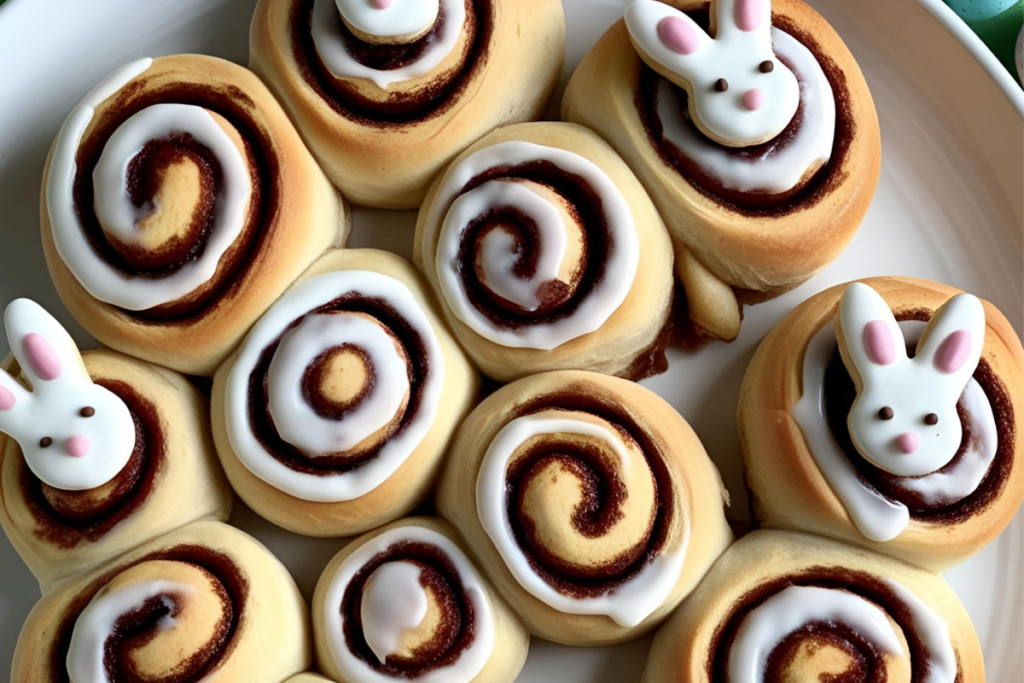
These Easter Bunny Cinnamon Rolls aren’t just desserts—they’re edible decorations that instantly transform your Easter table into a springtime celebration. The bunny shapes bring whimsy to your Easter pastries collection without requiring professional baking skills.
Customizable Creativity
Let everyone express their artistic side! Kids and adults alike can customize their bunnies with different facial expressions, colorful sprinkles, or various icing flavors. It’s one of those Easter dessert recipes that doubles as an activity.
Make-Ahead Magic
Prepare these bunny rolls for Easter the night before and refrigerate them unbaked. On Easter morning, simply pop them in the oven for fresh, warm treats that fill your home with an irresistible cinnamon aroma.
Family-Friendly Fun
Unlike complicated Easter desserts, these bunny rolls welcome little helpers in the kitchen. From shaping ears to adding icing tails, there are tasks for all ages, making these simple Easter desserts perfect for family bonding.
Crowd-Pleasing Flavors
The classic cinnamon-sugar filling appeals to everyone from traditionalists to picky eaters. These Easter buns combine familiar comfort food flavors with holiday charm for an irresistible combination.
Surprisingly Simple
Despite their impressive appearance, these are truly easy Easter desserts. Using refrigerated cinnamon roll dough as a shortcut means less time in the kitchen and more time enjoying your Easter celebrations.
Versatile Serving Options
Serve them as a special Easter morning breakfast, afternoon treat, or dessert after Easter dinner. These best Easter desserts work perfectly at any time of day, making them wonderfully versatile for your celebration.
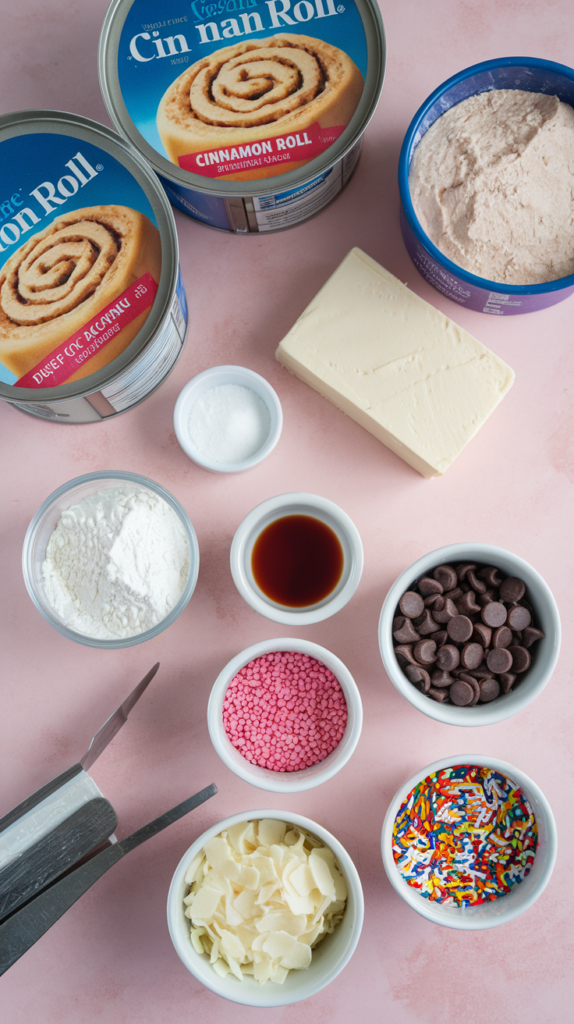
Ingredients for the Easter Bunny Cinnamon Rolls Recipe
- 2 cans (17.5 oz each) refrigerated cinnamon roll dough with icing packets
- 1/4 cup all-purpose flour (for dusting work surface)
- 1/4 cup cream cheese, softened (optional, for enhanced icing)
- 1/2 teaspoon vanilla extract (adds depth to the icing)
- 1/4 cup powdered sugar (for additional sweetness if desired)
- Pink food coloring (for ears and nose)
- Mini chocolate chips (for eyes)
- Shredded coconut (1/4 cup for bunny tails)
- Multi-colored sprinkles (optional, for decoration)
Cooking Equipment Needed:
- Large baking sheet or 9×13 baking dish
- Parchment paper or silicone baking mat
- Rolling pin
- Kitchen scissors or sharp knife
- Small mixing bowls for icing
- Pastry brush (optional, for egg wash)
Cooking Instructions for the Easter Bunny Cinnamon Rolls Recipe
Step 1: Prepare Your Workspace
Preheat your oven to 350°F (or temperature specified on the cinnamon roll package). Line your baking sheet with parchment paper and lightly dust your work surface with flour to prevent sticking.
Step 2: Shape the Bunny Bodies
Open the cinnamon roll cans and separate the rolls. For each bunny, place one whole cinnamon roll on the baking sheet – this forms the bunny’s body and face.
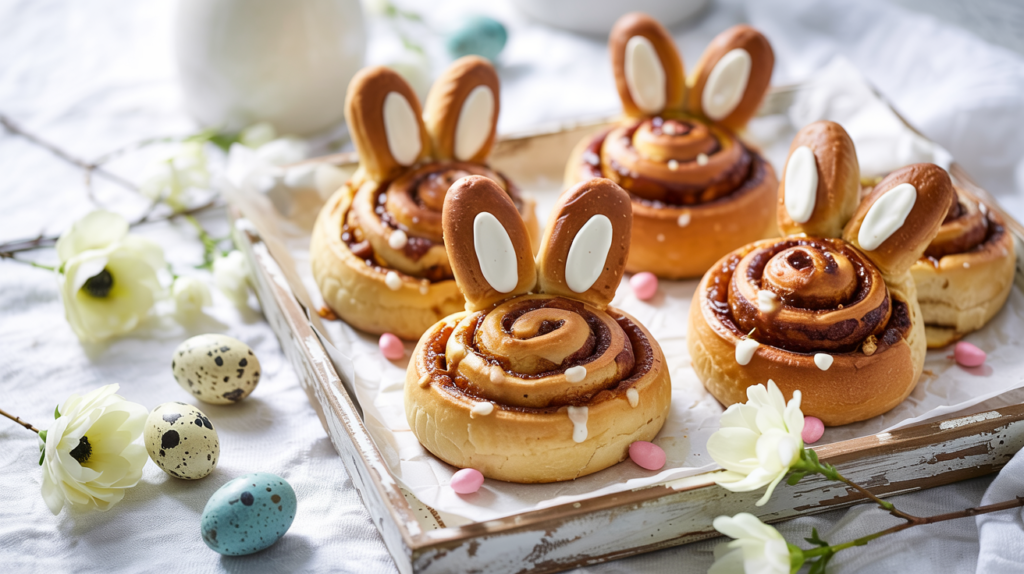
Step 3: Create Bunny Ears
Cut another cinnamon roll in half. Roll each half into a longer, ear-shaped piece and attach them to the top of the whole roll. Gently press the connection points to ensure they bake together.
Step 4: Form the Paws
For each bunny, take another cinnamon roll and cut it into three pieces. Shape two smaller pieces into paws and position them at the bottom sides of the bunny body, pressing slightly to join.
Step 5: Add Bunny Tails
Use the remaining piece from Step 4 to form a small ball for the tail. Place it at the bottom of the bunny body or slightly tucked behind, pressing gently to attach to the main body.
Step 6: Bake to Golden Perfection
Bake in the preheated oven for 12-15 minutes or until the rolls are golden brown and fully cooked. Allow to cool slightly before decorating.
Step 7: Create Your Decorative Icing
While bunnies cool, mix the provided icing packets with softened cream cheese and vanilla extract. Divide into portions if coloring differently for various decorative elements.
Step 8: Bring Your Bunnies to Life
Decorate each bunny with icing – white for the body, pink for the inner ears and nose. Add mini chocolate chips for eyes and press coconut shreds onto the tail area for a fluffy effect.
Notes:
Time-Saving Option
Use pre-made icing in squeeze bottles instead of mixing your own for quicker assembly and less cleanup on busy Easter mornings.
Day-Before Prep
Shape unbaked rolls and refrigerate overnight, covered with plastic wrap. Let stand at room temperature for 30 minutes before baking in the morning.
Allergen Alternative
Replace coconut tails with small marshmallows or additional icing swirls if serving guests with coconut allergies.
Flavor Variation
Add 1/2 teaspoon of orange zest to the icing for a bright, citrusy flavor that compliments the cinnamon perfectly.
Storage Tip
Store leftover bunnies in an airtight container for up to 2 days. Warm briefly in the microwave (10-15 seconds) before serving.
Macronutrients count per serving
- Calories: 285 per bunny roll
- Carbohydrates: 42g
- Protein: 4g
- Fat: 11g
- Fiber: 1g
- Sugar: 18g
- Sodium: 450mg

Pro Tips for Perfect Bunny Rolls
Uniform Thickness
When shaping ears, ensure they’re the same thickness as the body to promote even baking and prevent burning of thinner parts.
Secure Connections
Dampen your finger with water and run it along connection points between dough pieces to help them fuse together while baking.
Perfect Icing Consistency
If the icing is too thick, add milk 1/2 teaspoon at a time. If too thin, add powdered sugar 1 tablespoon at a time until reaching desired consistency.
Icing Application Technique
Allow bunnies to cool 5-7 minutes before icing to prevent complete melting but still allow some softening for a smooth finish.
Strategic Placement
Leave about 2 inches between bunnies on the baking sheet as they’ll expand during baking. Overcrowding leads to connecting bunnies!
Kid-Friendly Decoration Station
Set up different toppings in small bowls and let children decorate their own bunnies for a fun Easter morning activity.
Hoppy Answers (Q&A)
What can I serve with these Easter Bunny Rolls?
Fresh fruit salad, yogurt parfaits, or a savory egg casserole balance the sweetness perfectly for a complete Easter brunch spread.
Can I make these with homemade dough?
Absolutely! Substitute your favorite cinnamon roll dough recipe, just prepare it through the first rise before shaping into bunnies.
How do I prevent the ears from falling over?
Position ears closer together at the base and don’t make them too tall. A quick egg wash helps them maintain shape during baking.
Can these be made gluten-free?
Yes! Use prepared gluten-free cinnamon roll dough, available at many specialty grocers, following the same shaping techniques.
How far in advance can I make these?
Shape and refrigerate unbaked rolls up to 24 hours in advance, or fully prepare up to 8 hours ahead, covering loosely after icing sets.
Can I freeze these Easter Bunny Rolls?
Freeze unfrosted baked rolls for up to 1 month. Thaw overnight in the refrigerator and warm slightly before decorating.

