I still remember the day I first made homemade chicken broth. It wasn’t exactly planned. It was one of those chilly evenings when I had roasted a whole chicken for dinner, and as I stared at the leftover bones and scraps, a lightbulb moment hit me. My grandma always told me, “Never waste a good bird!” She used to turn every chicken carcass into the richest, most flavorful broth, and I could almost hear her voice scolding me for even thinking of tossing those bones. So, I decided to channel my inner grandma and make my own batch of chicken bone broth.

Now, I wish I could say I nailed it on the first try, but let’s just say my first attempt tasted like water that had merely met a chicken in passing. But I was determined. I started tweaking my method, adding more aromatics, simmering it low and slow, and letting all the flavors develop naturally. The result? Liquid gold. Now, this easy homemade chicken bone broth recipe is a staple in my kitchen.
Whether I’m sipping it straight from a mug, using it as the base for a cozy chicken broth soup, or adding it to other dishes, I always have some on hand. And today, I’m going to show you how to make chicken broth from bones the easy way—so you can turn those scraps into something amazing, just like grandma used to do.
Why You’ll Love This Dish
- It’s Packed with Nutrients – This isn’t just any broth; it’s a powerhouse of vitamins, minerals, and collagen. When you simmer chicken bones for hours, they release all their goodness into the broth, making it a comforting, nourishing elixir for your body.
- Ridiculously Simple to Make – Toss everything in a pot, let it do its thing, and boom—you have homemade chicken broth. No fancy techniques or complicated steps, just good old-fashioned slow cooking.
- Great for Using Leftover Chicken – Ever wonder what to do with that chicken carcass after dinner? Instead of tossing it, make chicken broth! It’s the perfect way to stretch one meal into another and get the most out of your ingredients.
- Tastes Better Than Store-Bought – No weird preservatives, no artificial flavors—just pure, homemade goodness. Once you make your own, you’ll never go back to those bland cartons from the store.
- Perfect for Soups, Sauces, and More – Whether you’re whipping up a hearty soup, a rich gravy, or even cooking rice, this broth will take your dishes to the next level.
- Budget-Friendly – Store-bought broths can be pricey, but making your own is practically free if you’re using leftover chicken scraps. Save money and eat better—win-win!
- Great for Digestion and Immune Support – People have been drinking bone broth for centuries for its gut-healing properties and immune-boosting benefits. Turns out, grandma really did know best!
- Customizable to Your Tastes – You can tweak the flavors by adding different herbs and spices. Like it garlicky? Throw in some extra cloves. Want a hint of spice? A little ginger will do the trick.
Ingredients Needed for the Chicken Bone Broth Recipe!
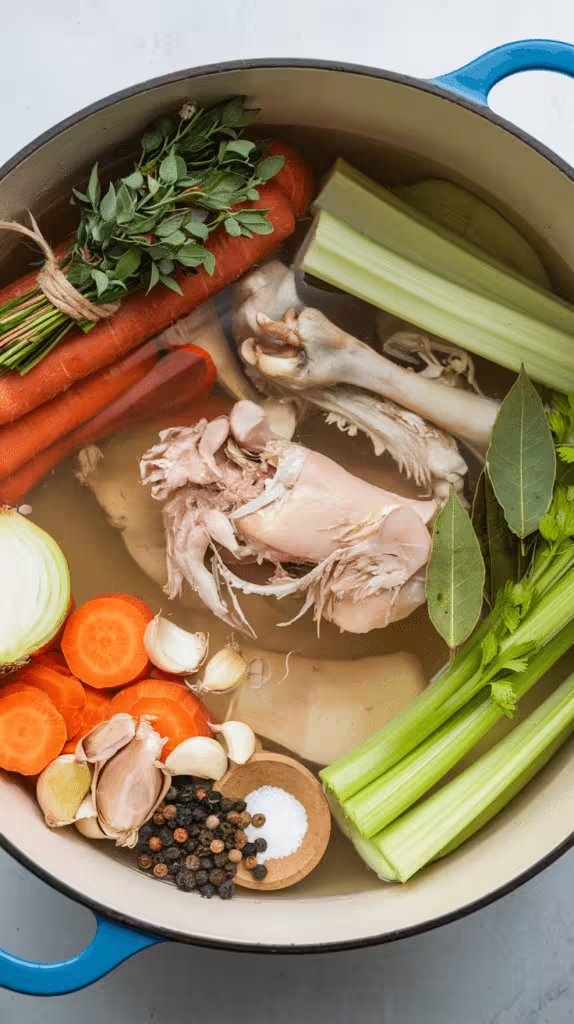
- Chicken bones and scraps (from a whole roasted chicken or any leftover chicken parts)
- 12 cups of water
- 2 carrots, chopped
- 2 celery stalks, chopped
- 1 onion, quartered
- 4 garlic cloves, smashed
- 2 bay leaves
- 1 teaspoon black peppercorns
- 1 tablespoon apple cider vinegar (helps extract nutrients from the bones)
- Salt to taste
- Fresh herbs (like thyme or parsley, optional)
Equipment:
- Large stockpot or slow cooker
- Strainer or cheesecloth
- Large bowl for storing the broth
Cooking Instructions for this Homemade Chicken Bone Broth Dish!
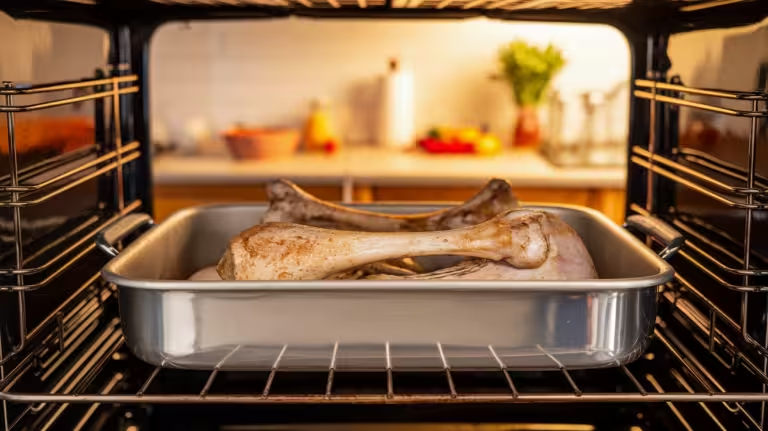
1. Prepare the Bones – If you have raw bones, roast them at 400°F for about 20 minutes to deepen the flavor. If you’re using leftover chicken bones, you’re good to go.
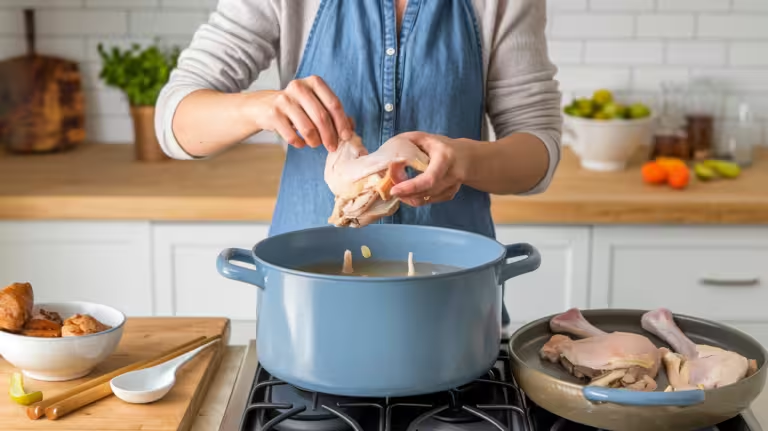
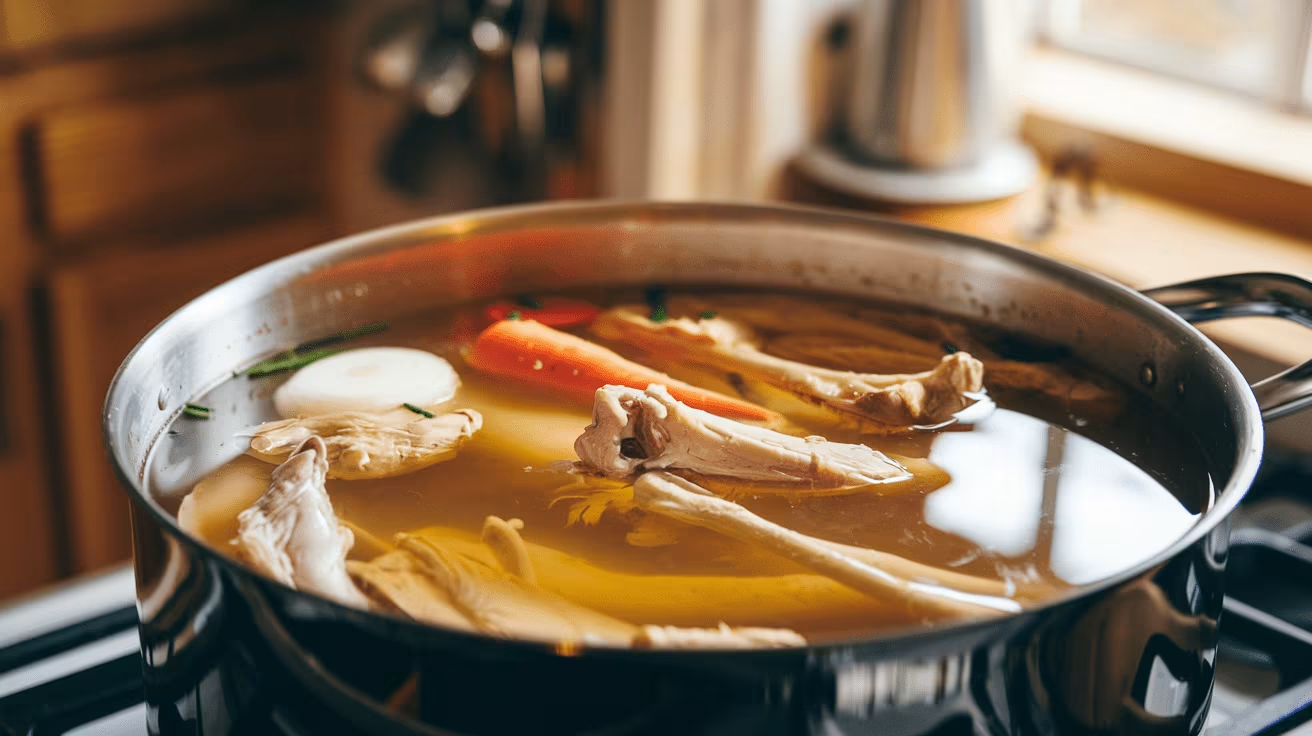
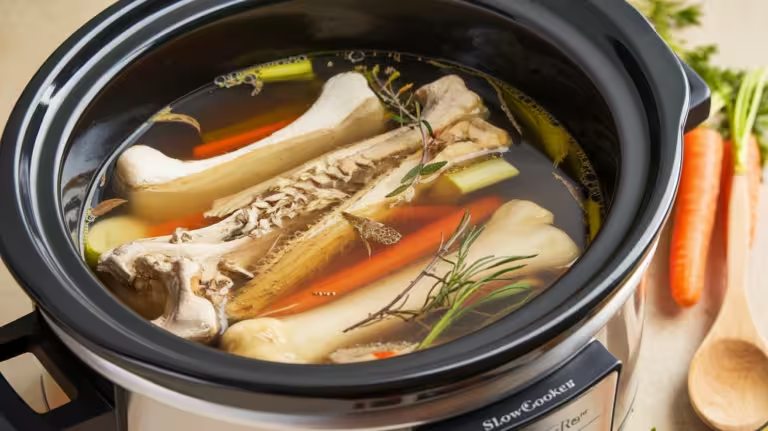
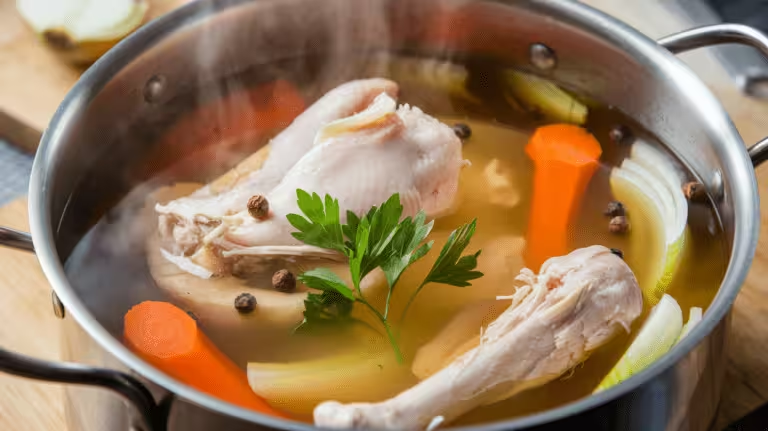
2. Add Everything to a Pot – Toss the bones, veggies, garlic, bay leaves, and peppercorns into a large pot. Pour in the water and add the apple cider vinegar.

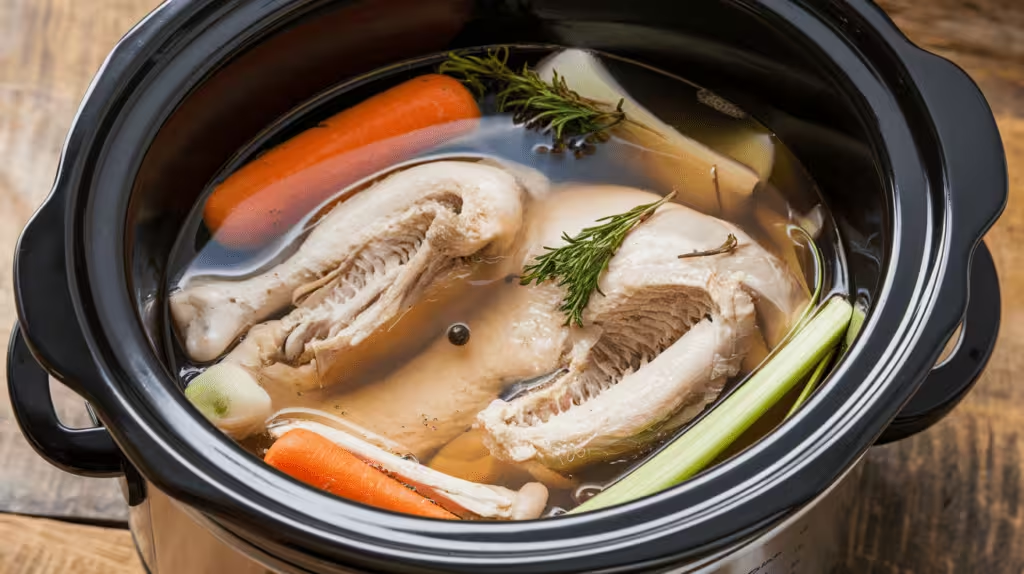
3. Simmer Low and Slow – Bring to a gentle boil, then reduce to a low simmer. Let it cook for at least 12 hours (or up to 24 for a richer broth). If using a slow cooker, set it on low and let it go overnight.
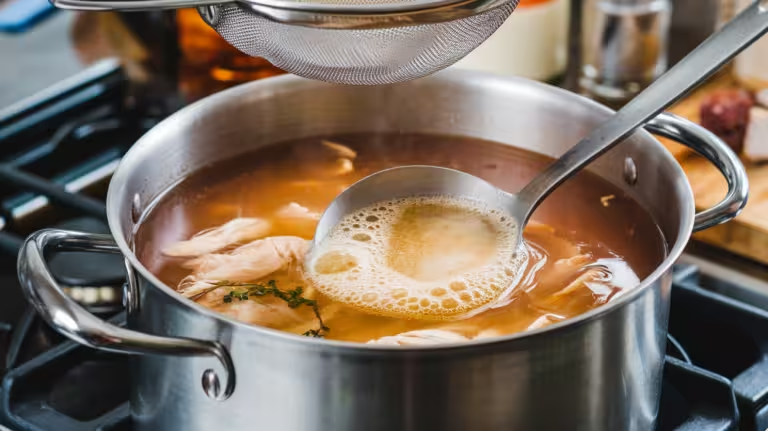
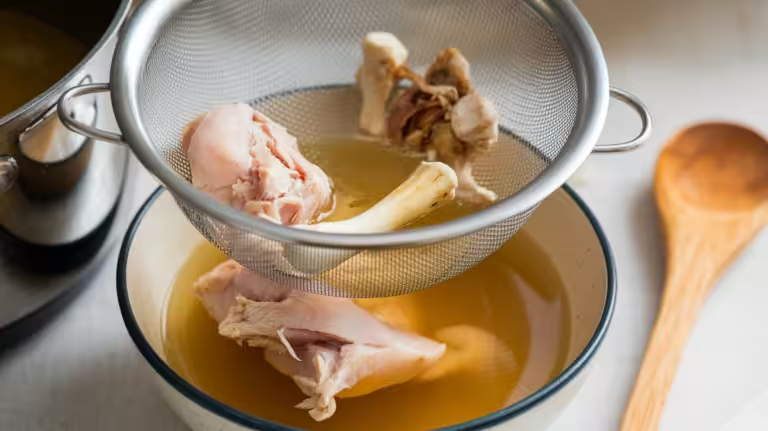
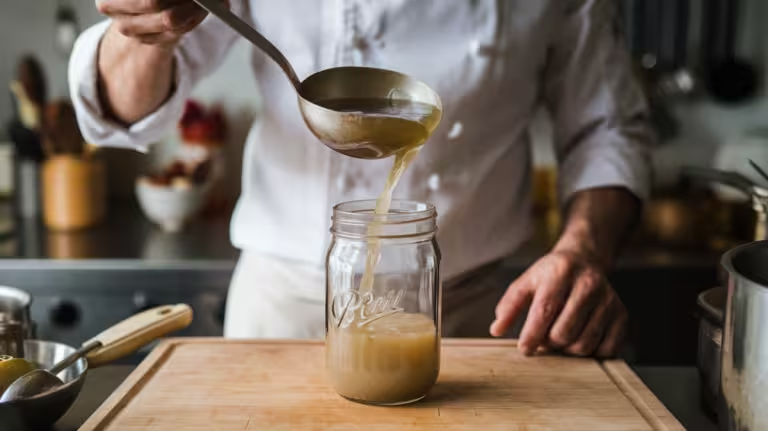
4. Skim and Strain – Every now and then, skim off any foam that rises to the top. Once done, strain the broth through a fine mesh strainer or cheesecloth.
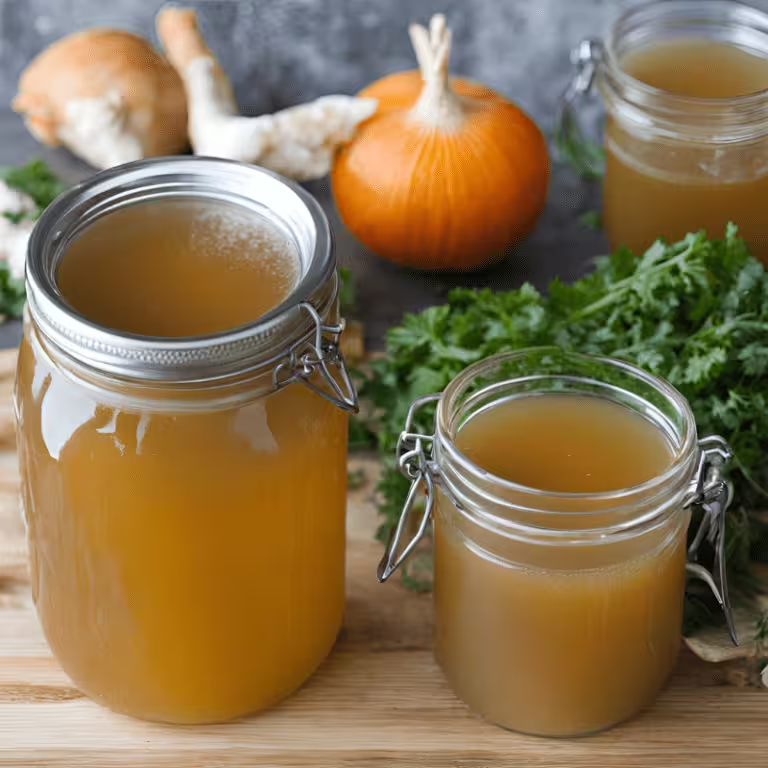
5. Cool and Store – Let it cool before transferring to jars or containers. Store in the fridge for up to 5 days or freeze for up to 6 months.
Notes & Tips
- Don’t Rush It – The longer you simmer, the richer the flavor. Aim for at least 12 hours for the best results.
- Use an Instant Pot for a Faster Version – If you’re short on time, pressure cook for 2 hours instead of slow simmering. It still turns out delicious.
- Freeze in Portions – Store broth in ice cube trays or small containers so you can use just what you need without defrosting the whole batch.
- Get Creative with Seasonings – Add ginger, turmeric, or lemongrass for an extra depth of flavor and health benefits.
- Use It in Everything – Beyond soups, use this broth to cook rice, make gravies, or even sip it straight when you need something warm and comforting.
Macronutrients for the Recipe
- Calories: Approximately 50 per cup
- Protein: 10g
- Fat: 1.5g
- Carbohydrates: 0g
- Collagen: High amounts, great for joint health
- Minerals: Rich in calcium, magnesium, phosphorus, and potassium
Bonus Pro Tips for the Recipe
- Don’t Rush It – The longer you simmer, the richer the flavor. Aim for at least 12 hours for the best results.
- Use an Instant Pot for a Faster Version – If you’re short on time, pressure cook for 2 hours instead of slow simmering. It still turns out delicious.
- Freeze in Portions – Store broth in ice cube trays or small containers so you can use just what you need without defrosting the whole batch.
- Get Creative with Seasonings – Add ginger, turmeric, or lemongrass for an extra depth of flavor and health benefits.
- Use It in Everything – Beyond soups, use this broth to cook rice, make gravies, or even sip it straight when you need something warm and comforting.
“Broth & Beyond” – Q & A Section
Q: What can I serve with this broth? A: This broth pairs beautifully with a hearty grilled cheese sandwich, a fresh green salad, or even a side of roasted vegetables.
Q: Can I make this broth without apple cider vinegar? A: Yes! The vinegar helps extract minerals from the bones, but you can substitute it with lemon juice or omit it if needed.
Q: How can I make the broth richer in flavor? A: Roasting the bones beforehand and adding more aromatics like garlic, leeks, and bay leaves will give your broth a deeper, more robust taste.
Q: Can I reuse the bones for a second batch? A: Technically, yes, but the second batch will be weaker in flavor and nutrients. If you do, try adding fresh veggies and herbs to boost it.
Q: How long does homemade broth last? A: It stays fresh in the fridge for up to 5 days and can be frozen for up to 6 months.